UNREAL TIPS & TRICKS
Taking High-Resolution Screenshots in Unreal Engine 5
Upgrade your image sharpness and quality with various useful tips & tricks!
Johan Storkersen, Co-Founder of RealBiomes | 27/11/2024
Taking High Resolution screenshots is very easy in Unreal Engine 5 using the High Resolution Screenshot tool which can be found in your viewport settings under the same name. That said, there are several important factors to take into account if you want the sharpest, highest quality screenshots possible.
For a still image the idea is to render out a clean, untampered frame, which to kick things off means:
Disabling Anti-Aliasing to make sure we have no filters messing with our pixels. This is especially important for Nanite as it works on a per pixel basis meaning AA like TSR may also affect the way assets are drawn on screen.
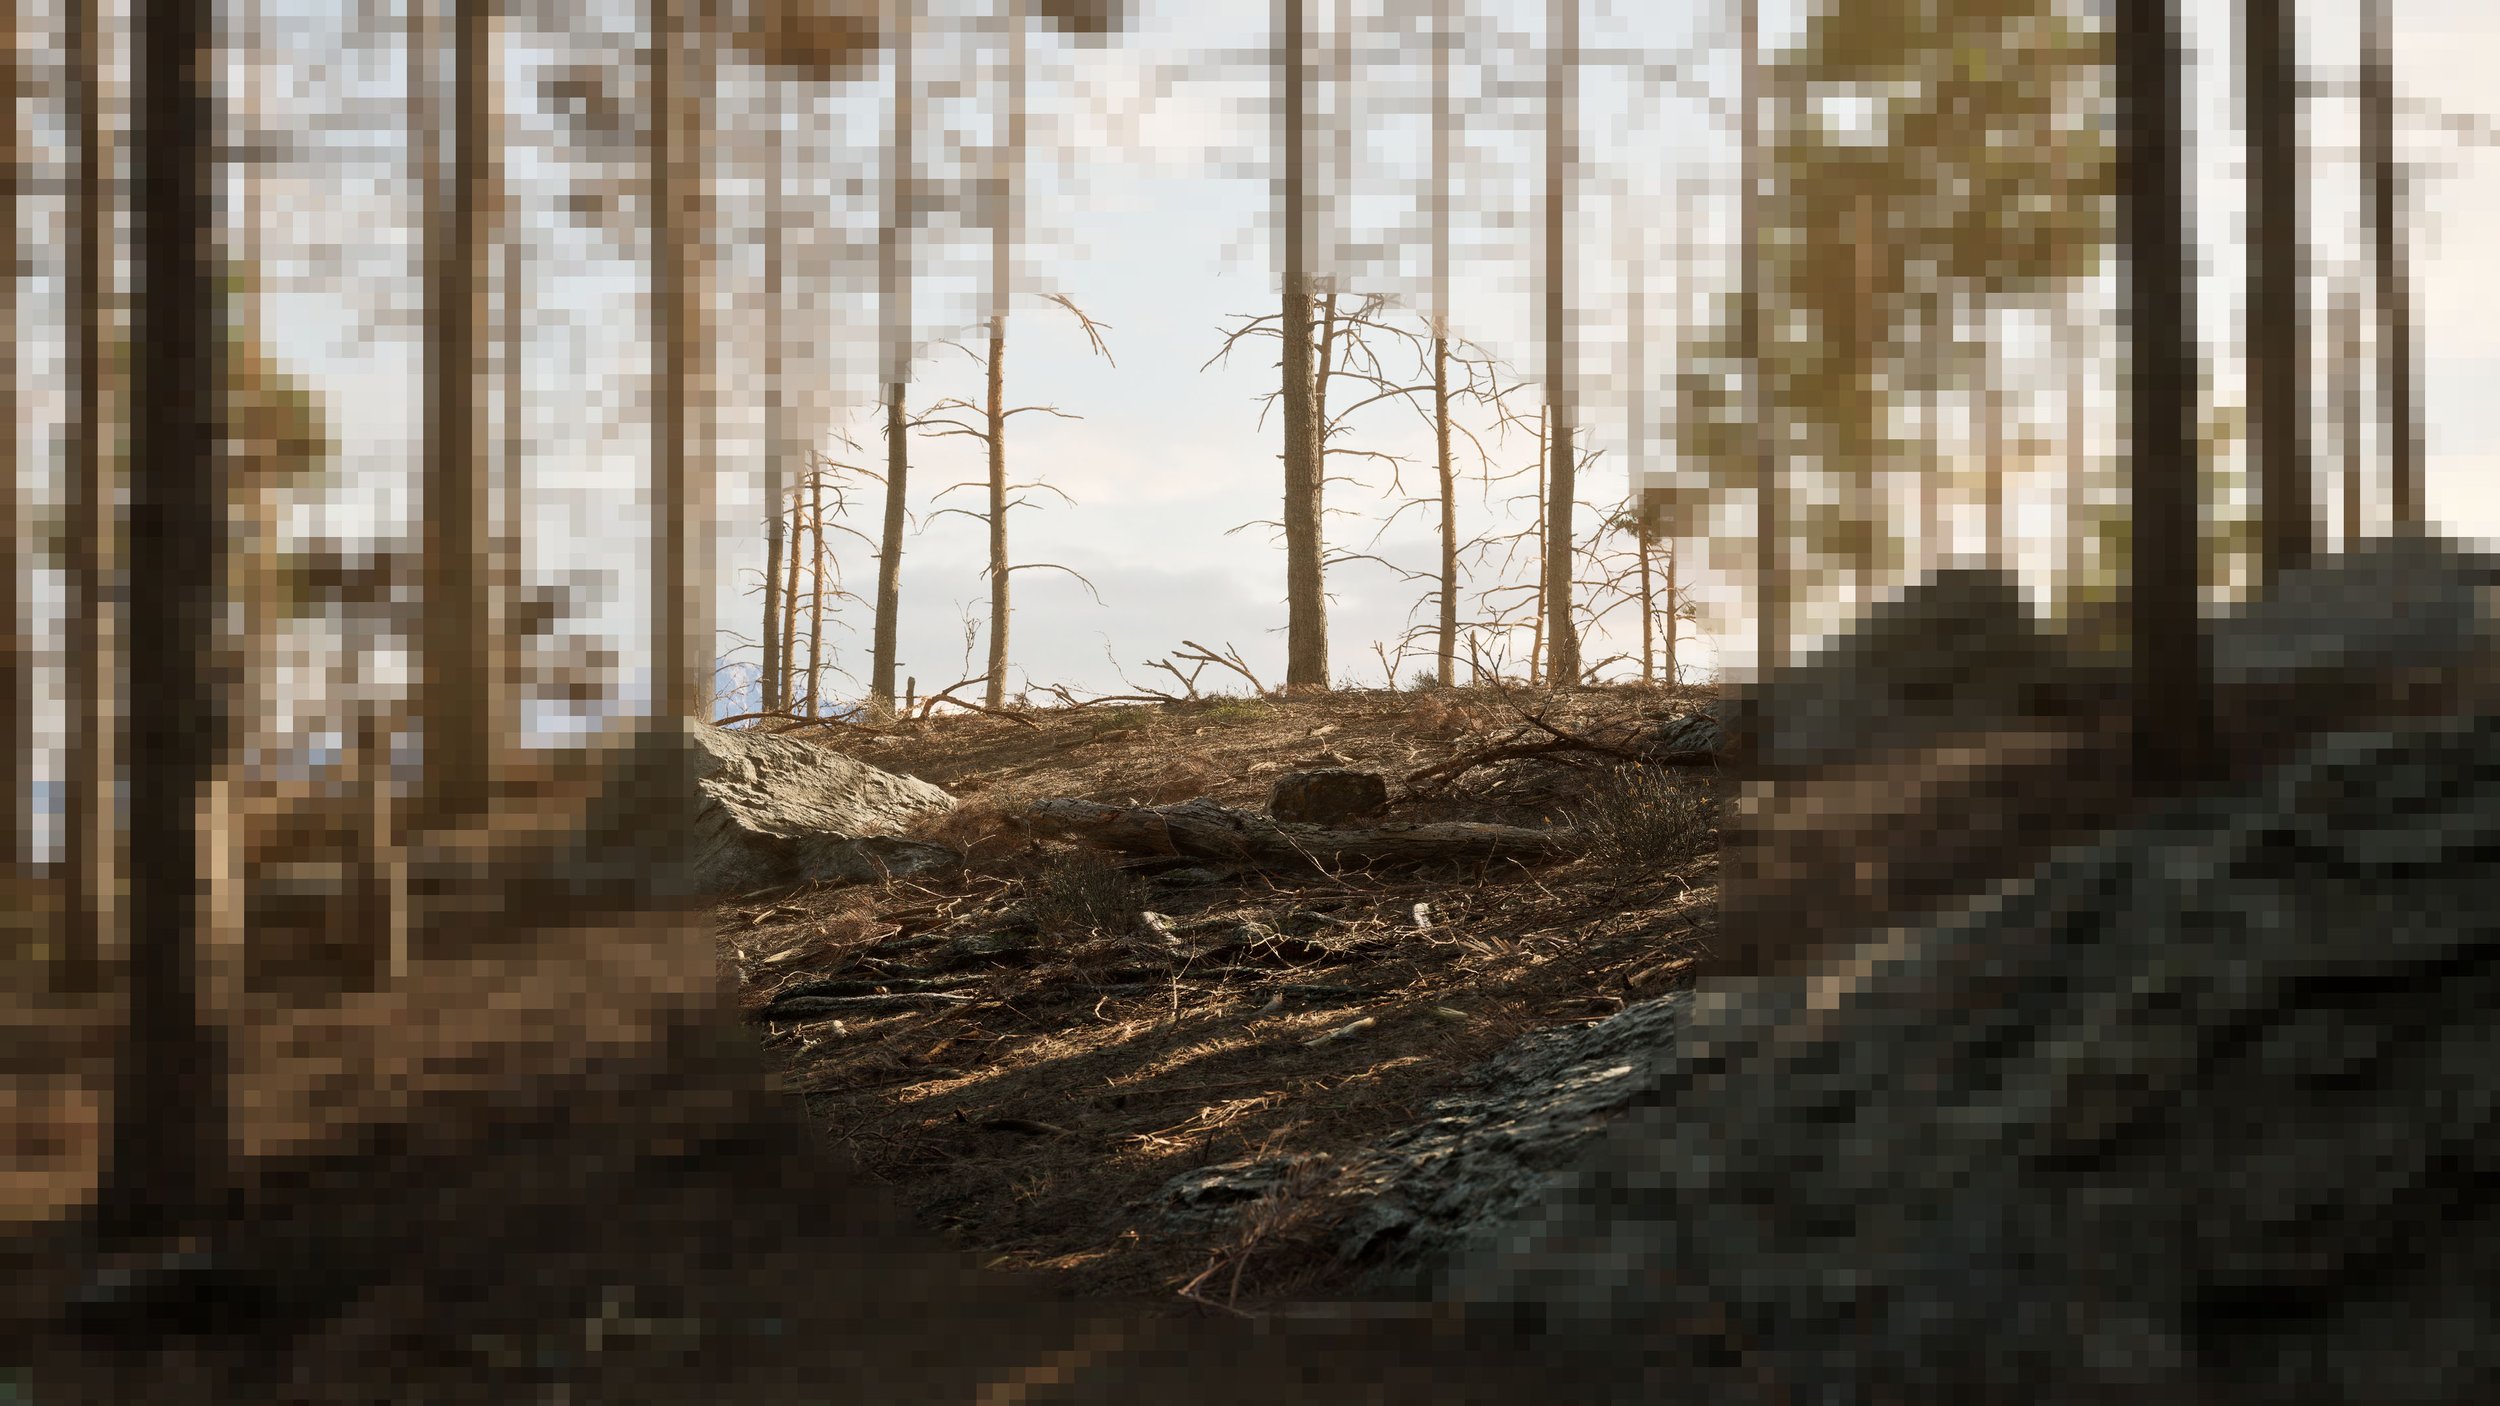
Note that web compression will affect the image quality.
Use the Cinematic Camera Actor
Unlike the standard camera the Cine Camera Actor has additional parameters for cinematic purposes such as focus, focal length, aperture and many other settings you will find useful when hunting for that perfect shot.
Once you found your angle, we recommend locking the actors position to avoid accidentally moving it.
One important factor to not forget is to adjust your Manual Focus Distance using the Draw Debug Focus Plane feature. The reason for this to assure maximum sharpness on the object in focus, otherwise you risk your details becoming blurry/soft, something that isn’t always noticeable until you do a closer inspection so it’s easy to miss.
Taking High Resolution Screenshots
The High Resolution Screenshots tool is a very straight forward feature of Unreal Engine, it allows you to take a clean render of your current viewport with the ability to increase the Size Multiplier of the image, that way we can take screenshots at a way higher resolution than your monitors resolution.
General guidelines:
Adjusts the resolution multiplier compared to your base monitor resolution.
An ideal raw render resolution should be 1.5-2x of target resolution, ie. if your monitors resolution is 1920x1080 and your target resolution is 3840x2160 you could render with a Size Multiplier of 3 which will result in a raw render of roughly 5760x3240 which you can then downres to 3840x2160.
Increasing the Size Multiplier may cause your GPU to crash, save before taking the screenshot and if it keeps on crashing lower the multiplier.
Possible issues:
Your render looks different from the viewport, especially AO/Global Illumination seems to have changed or not settled properly. The only solution to this is to take several screenshots until you get one that works.
Supersample your shots using Screen Percentage
Leveraging what in practice is Supersampling is an alternative to increasing the screenshot Size Multiplier beyond your target resolution.
For example, if your monitor is 1920x1080, putting the Screen Percentage to 200% means you are effectively rendering the scene at 3840x2160 while it being downsampled back down to 1920x1080, in practice doing the same as if you we’re to render your frame at a very high resolution then lowering it in Photoshop.
General guidelines:
Used to make the engine render a lower or higher resolution image compared to your actual screen resolution.
Can function as high quality “Anti-Aliasing” when taking screenshots.
We generally recommend putting it to 200 combined with an increased Screenshot Size Multiplier (depending on your monitor/target resolution) for the best quality frame render without needing to downsample manually.
Not sharp enough?
You may see benefits, especially when viewing surfaces at an angle by decreasing the texture LOD ratio and increasing Anisotropic Filtering using the following CVARs:
r.MipMapLODBias = -2
r.MaxAnisotropy = 16
Keep in mind this may introduce unwanted noise so use this on a case by case basis.
Preserving distance details
In the case of taking large distance shots, you may notice thinning of foliage objects. This is something we ran into mainly when developing our Desert biome, as the huge draw distances and low tree coverage meant a lot of foliage assets like bushes would start disappearing when taking aerial/distance shots. What we want is to preserve the dense, green cover to create stronger sub-biome identities.
Thinning is usually caused by:
Preserve Area not being enabled on the objects
TSR or other forms of AA being present
Nanite/Texture LODs
That said, even with these factors in check there is still more to be gained.
Use the following CVAR to further decrease the amount of Nanite culling happening on screen:
r.Nanite.MaxPixelsPerEdge 0.5
Do not push this too low as you may start seeing the the opposite effect. You may also cause thrashing in the case you cause the Nanite buffer to overflow.
In the case of buffer overflow/thrashing, add these CVARs to your DefaultEngine.ini to increase the Nanite buffer:
r.Nanite.MaxVisibleClusters=10485760
r.Nanite.MaxCandidateClusters=16777216
r.Nanite.MaxNodes=10485760
r.Nanite.RasterIndirectionMultiplier=1.1
Note that doing this you increase the risk of running into the hard limit for visible Nanite clusters which may result in a crash.
In some cases keeping r.Nanite.MaxPixelsPerEdge at 1 while lowering the texture mip ratio is more beneficial in terms of keeping foliage density at great distances, use:
r.MipMapLODBias=-3 (can go even lower)


